Tutorial 4: Create a List
Estimated time: 15 min.
Prerequisites
- PIPEFORCE Enterprise 7.0 or higher.
- You have a valid PIPEFORCE Developer account.
- You have executed tutorial Tutorial: Create a new app.
- You have executed tutorial Tutorial: Create a new form.
- You have already added 3 or more data sets using your form.
1 - Create your list
Up to this step, you have already created an app with a new form inside (in the previous tutorials). When you submit the form, the data of the form will be automatically stored for you in PIPEFORCE, but you cant see it yet. In this step we want to display this data using a list. To do so, follow these steps:
Login to your portal https://YOUR_NAMESPACE.pipeforce.net.
Navigate to LOW CODE → Workbench.
Select your app node in the property tree, and click the plus icon at the top.
The new property view opens:
- As a property key, use the value
global/app/MY_APP/list/person. ReplaceMY_APPwith the name of the app you created before, for examplemyapp24. Do use only lower case letters and don’t use special characters or spaces! - As mime type select
application/json; type=list.
- As a property key, use the value
Click SAVE.
2 - Open your new list
The list property has been created for you and pre-configured using the person schema you created in the last tutorial. Do not change anything in here.
Navigate to
All AppsClick on your app.
Click on “person”
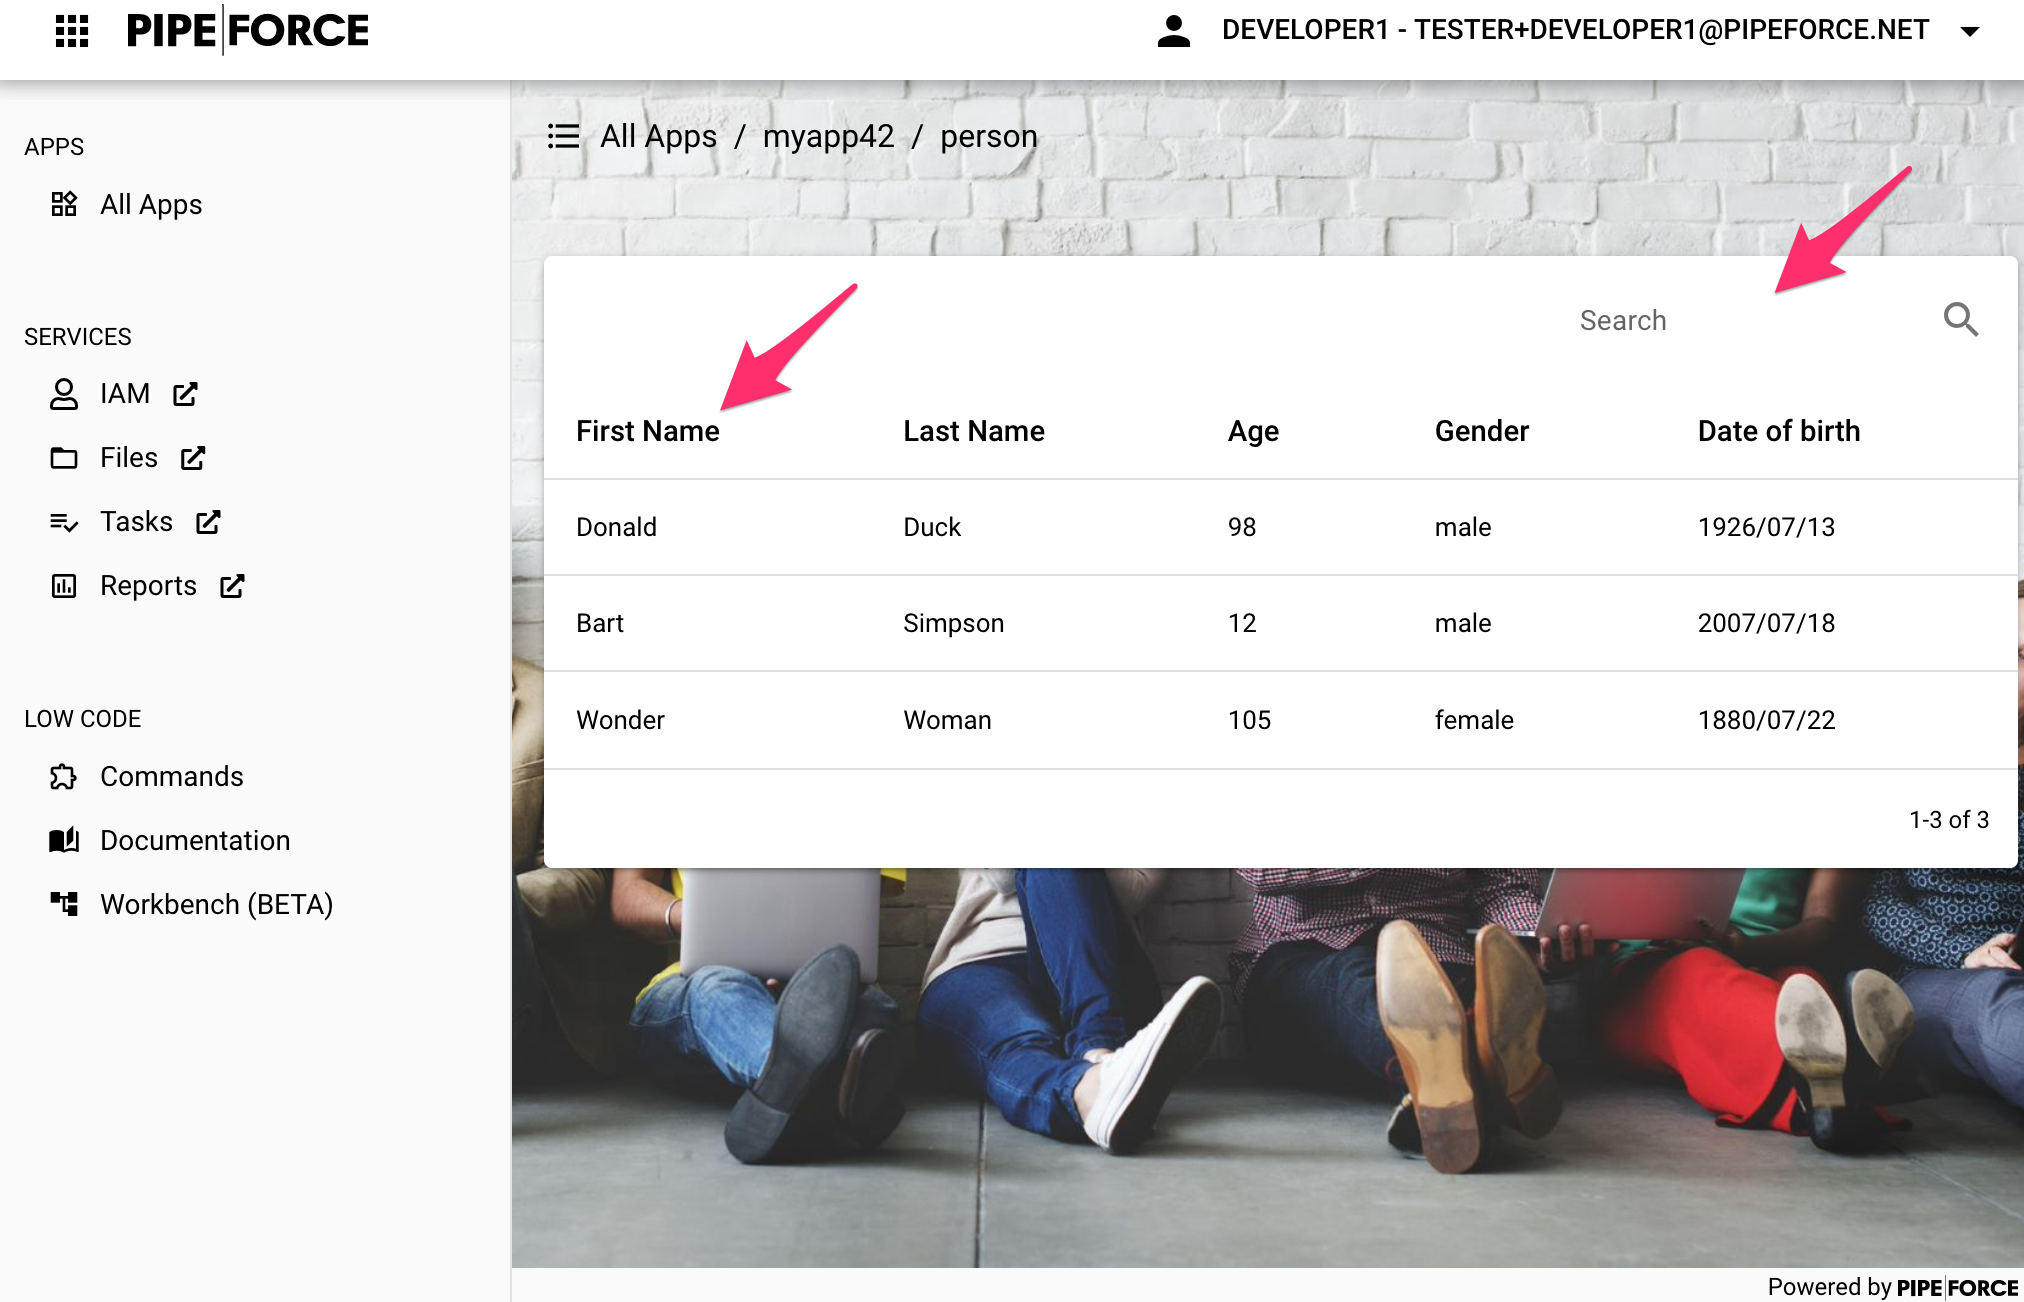
You should now see all the person datasets added before using your form:

You can search and sort the list.
Congrats, you have created your first list!
Report an Issue
In case you're missing something on this page, you found an error or you have an idea for improvement, please click here to create a new issue. Another way to contribute is, to click Edit this page below and directly add your changes in GitHub. Many thanks for your contribution in order to improve PIPEFORCE!