Tutorial 12: Setup CLI and Local Workspace
Estimated time: 30 min.
Prerequisites
- You have a valid PIPEFORCE Developer account
- You have executed all basic tutorials
- You know how to work with the terminal of your operating system
This tutorial is for advanced users, who want to develop source code locally. If you want to just test the low code features, try out the online workbench first.
1 - Setup your local environment
At first, before you can setup your local workbench, you have to make sure that you have these local toolings installed on your computer:
- Java 8 runtime or higher
- Visual Studio Code or any similar IDE which supports YAML, JSON and XML editing. We highly recommend VS Code, since it has good integration capabilities with all required toolings.
Install Java >= 8
Open your terminal and verify that you have a Java runtime version >= 1.8 installed:
$> java -version
You should see an output similar to this:
java version "1.8"
If there is a version number 1.8 or higher shown, then you have installed “Java 8” or higher.
In case you see an output like “command not found”, then you probably have no Java environment installed yet. So, go to the next step and download and install the environment.
If you have not installed Java runtime yet, follow these steps to download and install:
Go to https://www.java.com/de/download/, and download the latest Java runtime.
Install the downloaded package.
Open a new console window, and try out that this command to show the installed Java version:
$> java -versionNow, the Java version should be shown. You’re done.
If it is not shown, make sure thejavacommand was added to your path variable.
Install Visual Studio Code
The VS Code editor will be used to edit configurations for your workflow apps. You can download and install it for free from here:
https://code.visualstudio.com/download
Regardless which editor you’re using, it is very important to make sure the editor handles all files with UTF-8 encoding, which is the default for Visual Studio Code. You can check this here: Preferences → Settings → file.encoding.
Install YAML editor plugin
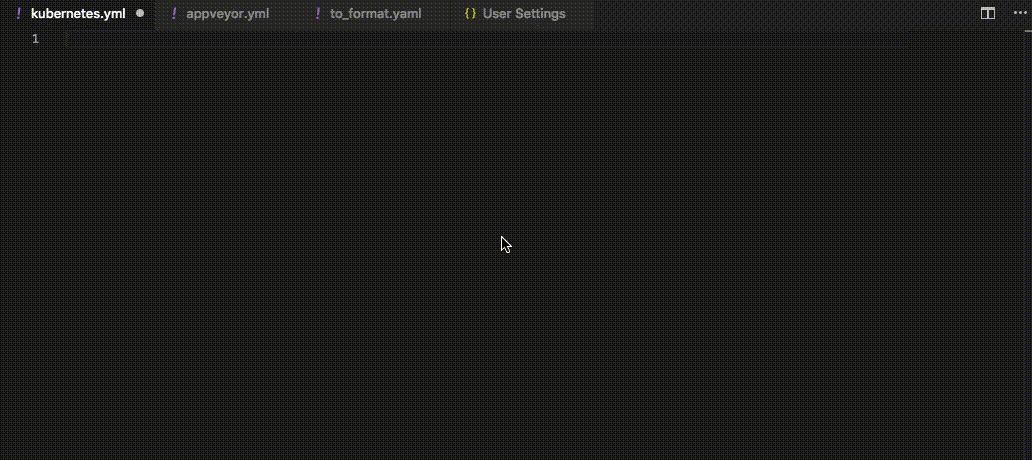
Since we will create and edit a lot of configuration files in the YAML format, we recommend you to install the YAML editor plugin in VS Code. With this, you will get YAML editor with text completion as shown here:
To do so, open this link in your browser, and click on “Install”:
https://marketplace.visualstudio.com/items?itemName=redhat.vscode-yaml
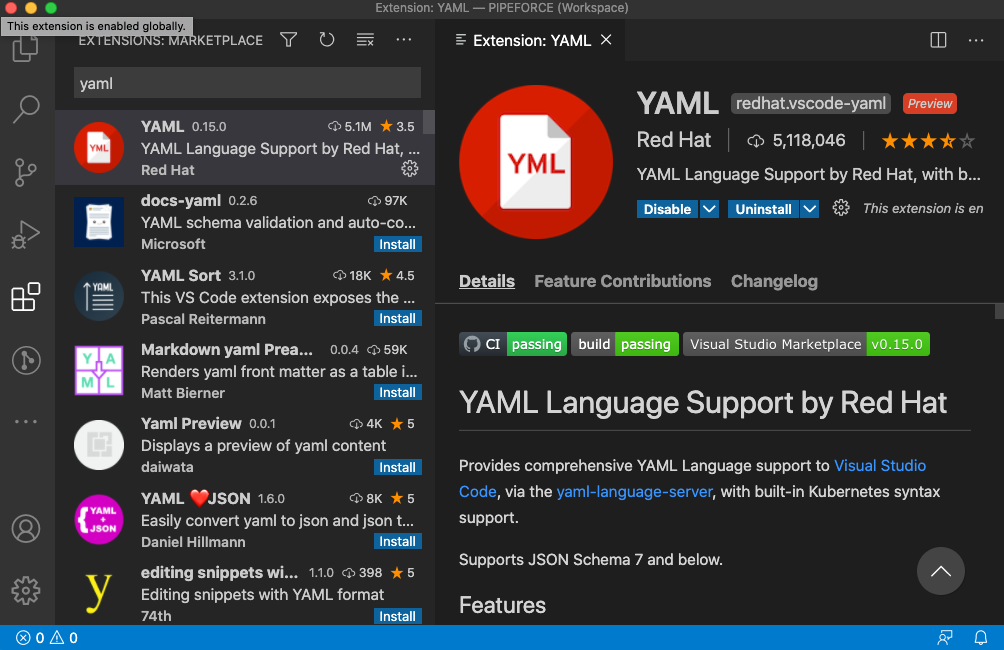
As an alternative, you can go to Preferences → Extensions in VS Code, and then search for YAML. Then, click install on the plugin found:
2 - Setup the CLI
In order to create and publish resources like apps, workflows, forms, lists or pipelines in your low-code workspace, we provide a command line tool which simplifies these steps a lot.
Check Java
In order to install this tool, first make sure you have a working Java version >= 8 installed locally by opening up a terminal window and typing in this command:
$> java -version
In case the current Java version is >= 1.8, everything is fine. Otherwise you need to install Java first. To do so, please refer to the setup section at the beginning of this guide.
Install pipeforce-cli
After you have made sure that Java is installed and is running correctly, you can download the latest version of the cli tool here.
Select the pipeforce-cli.jar and download it to your computer.
After this, open a new terminal / command line window and move to the folder where you downloaded the file. Usually, this is the Download folder (as shown in this example for Mac and could differ for your operating system):
$> cd /Users/username/Downloads
Now, install the cli tool by executing this command:
$> java -jar pipeforce-cli.jar setup
A setup wizard will be started automatically with these questions:
$> Namespace:
Type in your customer namespace, and press enter. This is the prefix name of your instance when you open it in your web browser. For example:
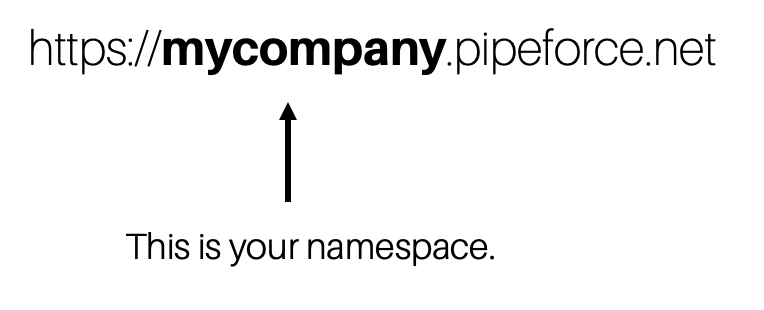
You got this link with your trial or production instance. If unsure, ask your manager for your namespace.
$> Username:
Type in your PIPEFORCE username, and press enter.
$> Password:
Type in your PIPEFORCE password, and press enter.
Done.
Finally, the PIPEFORCE CLI tool was successfully installed to your home folder $USER_HOME/pipeforce, and you can start creating your workflow apps. To do so, see the next steps in this guide.
We highly recommend to add the folder $USER_HOME/pipeforce/pipeforce-cli/bin to the path variables of your operating system.
In case you're an advanced developer or you would like to change the default connection settings on setup, use this command instead:
$> java -jar pipeforce-cli.jar setup advanced
This will start the setup wizard with advanced settings.
For further information about how to use the CLI tool, see the CLI Reference Documentation.
3 - Create a PIPEFORCE workspace
In order to start development, you have to create a PIPEFORCE workspace first. Such a workspace is a source repository where all of your development resources for particular PIPEFORCE apps reside.
In order to create such a workspace, follow these steps:
At first create a new, empty folder, for example under this path:
> mkdir -p /Users/username/pipeforce/repos/my-repo
Initialize this folder by calling the init command inside:
> cd /Users/username/pipeforce/repos/my-repo
> pi init
This creates the necessary src folder structure, a .pipeforce folder for settings and caching and the VS Code workbench file.
Finally you can open VS Code using these commands, or by double clicking the PIPEFORCE.code-workspace:
> cd /Users/username/pipeforce/repos/my-repo
> code .
In case you are using a different editor, please refer to its documentation how to setup a new repository / project with it.
Inside this folder, a file called PIPEFORCE.code-workspace is placed. Double-click it to start the VS Code with the PIPEFORCE workspace folder pre-selected for you.
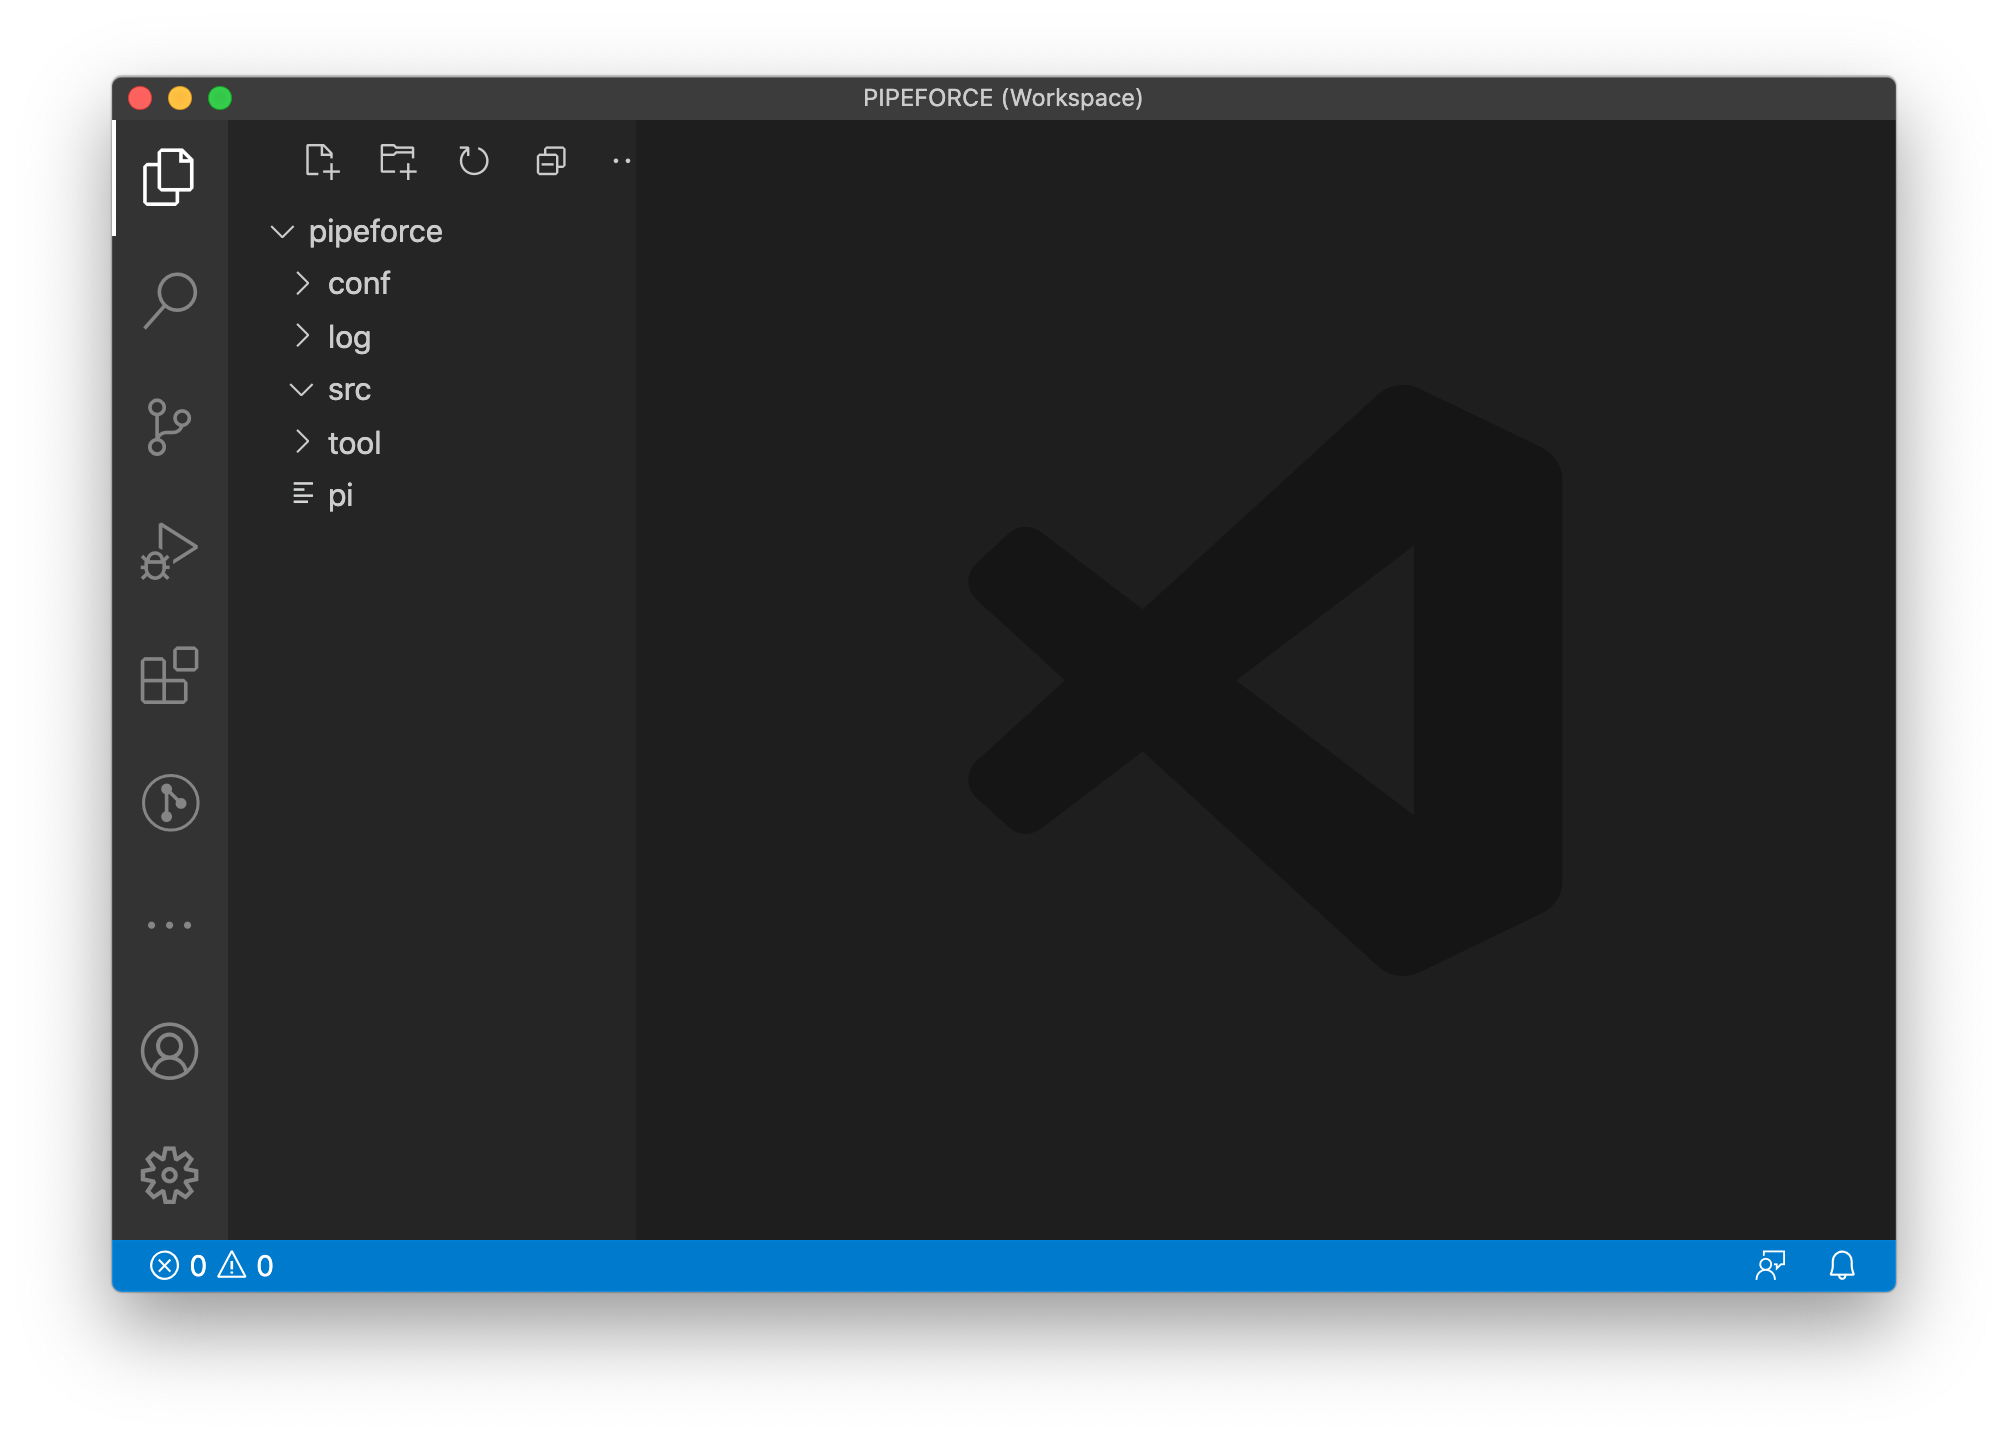
At the left, you can see at least the src folder from your repository. The meaning of these files and folders are. This folder will contain all source files.
4 - Create Git repository (optional)
In order to put the repository under source control, it is best practise to create a Git repository with same name and push all your changes there.
- Create a new repository online. For example with name
my-repo. - Execute these commands in order to push your PIPEFORCE sources:
git init
git add .
git commit -m "first commit"
git remote add origin git@github.com:<orga>/my-repo.git
git push -u origin master
Congratulations! You did successfully setup your local PIPEFORCE repository.
Report an Issue
In case you're missing something on this page, you found an error or you have an idea for improvement, please click here to create a new issue. Another way to contribute is, to click Edit this page below and directly add your changes in GitHub. Many thanks for your contribution in order to improve PIPEFORCE!