Tutorial 8: Send an Email
Estimated time: 10 min.
Prerequisites
- PIPEFORCE Enterprise 7.0 or higher + DMS module (optional)
- You have a valid PIPEFORCE Developer account
- You have completed tutorial: Tutorial: Create a new app
- You have completed tutorial: Tutorial: Create and execute a pipeline
Email - Intro
In this tutorial, you will learn how you can send emails from a pipeline, with and without attachments.
1 - Create the pipeline and send simple email
Login to the portal https://NAMESPACE.pipeforce.net
Navigate to LOW CODE → Workbench
Select the node of your app or create a new one.
Click the plus icon at the top of the tree.
The new property view opens:
- As property key, use:
global/app/YOUR_APP/pipeline/send-email - As mime type, use:
application/yaml; type=pipeline
- As property key, use:
Click
SAVEThe new property has been created, and the content editor was opened for you.
Now copy and paste this content into the editor, and overwrite any existing data there by this:
pipeline:
- mail.send:
to: "your@domain.tld"
subject: "Test email"
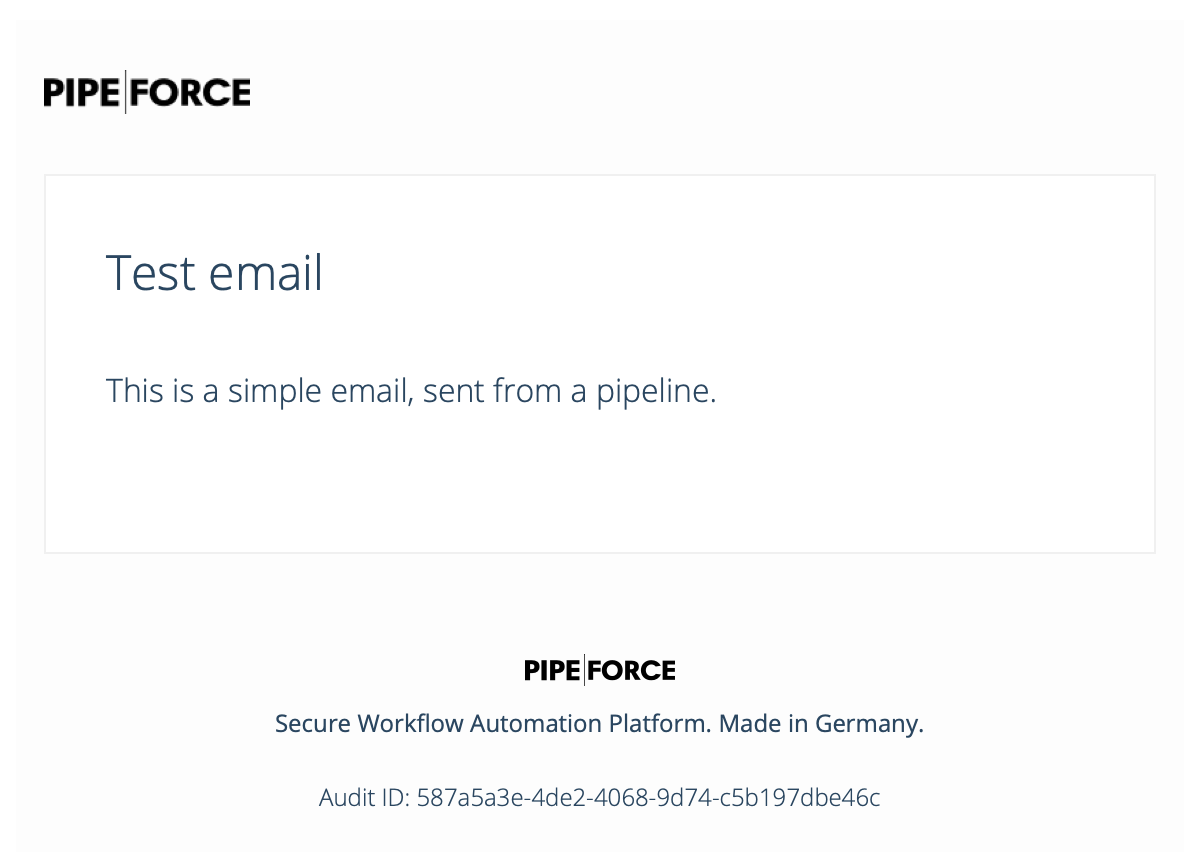
message: "This is a simple email, sent from a pipeline."Replace
your@domain.tldby your real email address.Click
SAVEand thenRUNto execute the pipeline.After a while, you should have received an email similar to this, decorated with the default layout:
2 - Extra: Add attachments
In this step, you will learn how to add attachments to such an email pipeline. For this, we will upload a PDF document to drive first, which will be used as an attachment.
Login to the portal https://NAMESPACE.pipeforce.net
Open Files / Drive.
Upload a file with name
invoice.pdfinto the root folder.Change your pipeline
send-emailto this:pipeline:
- drive.read:
path: "invoice.pdf"
- mail.send:
to: "your@domain.tld"
subject: "Test email"
message: "This is a simple email, sent from a pipeline."
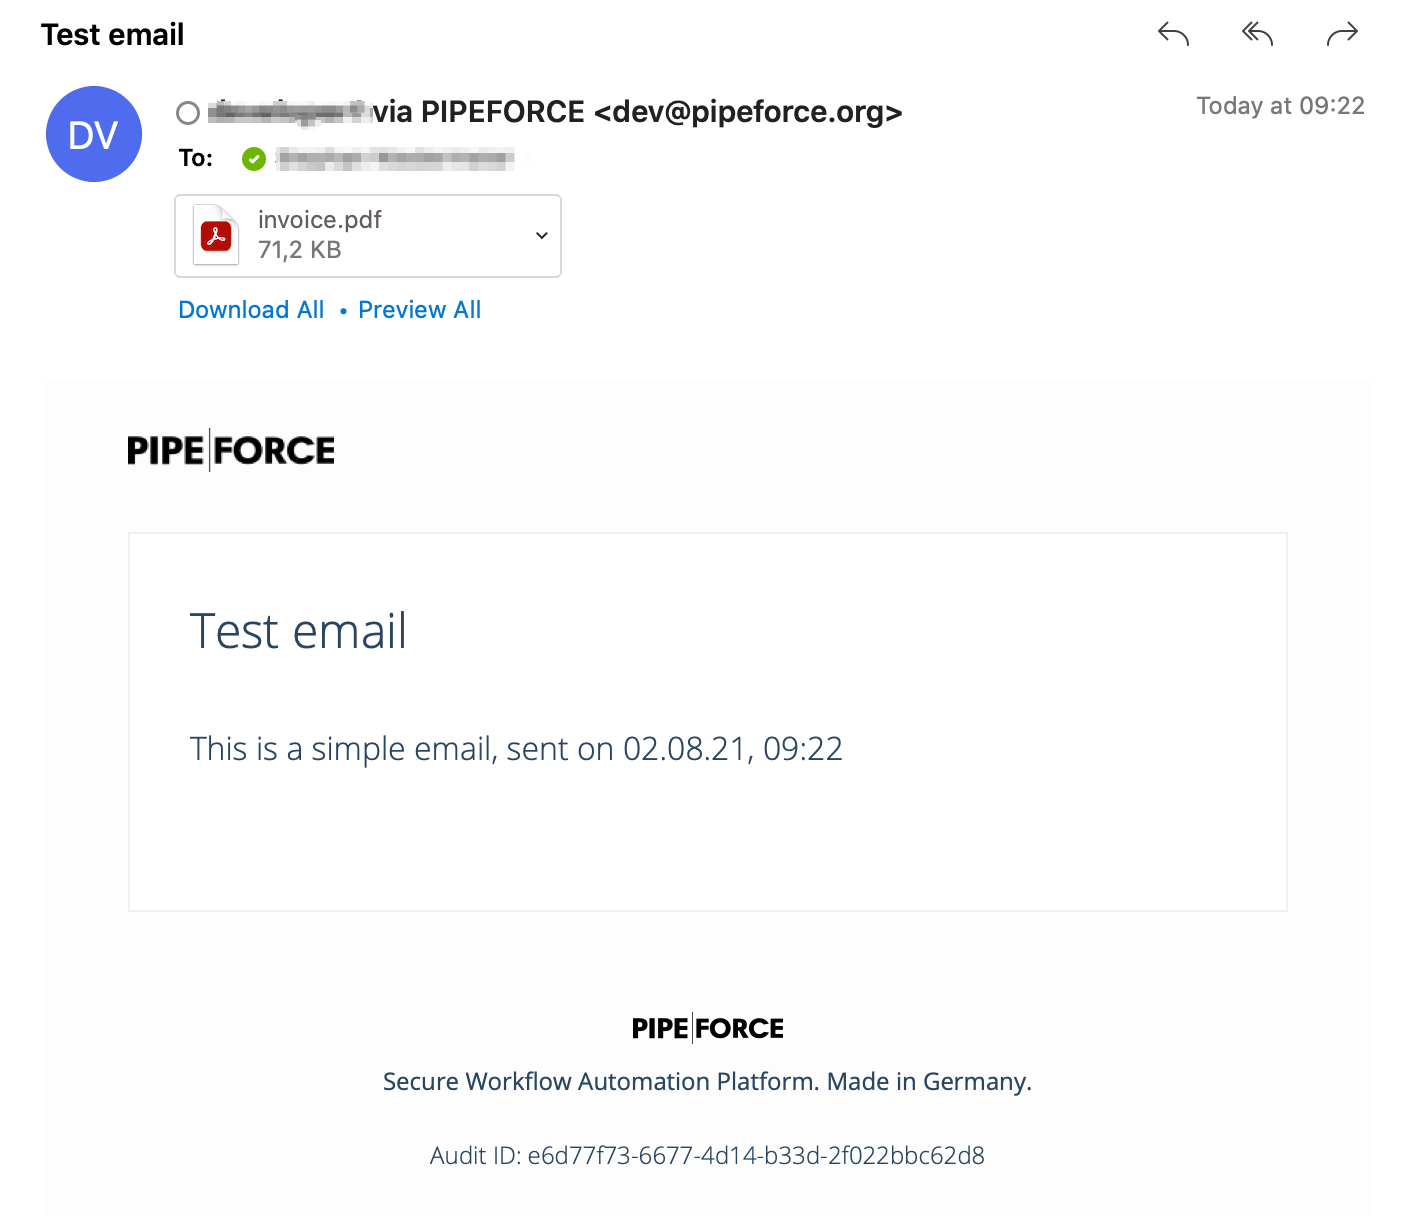
attachments: "#{body}"As you can see, we added the command
drive.readto read the PDF from drive into the body of the pipeline (which happens automatically for you). Additionally, we added the parameterattachmentsto themail.sendcommand. As value, the PEL expression#{body}is used. This expression points to the body of the current pipeline where the PDF document was loaded to. You can add multiple attachments by adding them separated by a comma. You can also point to resources inside the property store by using the uri formaturi:property:path/to/resource.Click
SAVEand thenRUN.After a while, you should receive again an email, but this time with the PDF as an attachment
Done.
3 - Extra: Set from + dynamic text in emails
Sometimes it is necessary to put dynamic text to emails. The easiest way in PIPEFORCE to do so, is by using the Pipeline Expression Language (PEL). In this step, we will simply add the currently logged-in user as the from email field, so that the recipient can easily reply to you with the current date and time in the email text using PEL:
Change your pipeline send-email to this:
pipeline:
  - drive.read:
      path: "invoice.pdf"
  - mail.send:
      to: "your@domain.tld"
      replyTo: "#{@user.email()}"
      fromName: "#{@user.displayName()}"
      subject: "Test email"
      message: "This is a simple email, sent on #{@date.now('dd.MM.YY, HH:mm')}"
      attachments: "#{body}"
As you can see, we did several changes in the pipeline:
- We added the parameter
replyTo: "#{@user.email()}". Its value will be replaced by the email address of the currently logged-in user, so the recipient can simply press the reply button to reply to this email. - We added the parameter
fromName: "#{@user.displayName()}". Its value will be replaced by the display name of the currently logged in user. - Finally, we added the PEL expression
#{@date.now('dd.MM.YY, HH:mm')}to the email message, in order to display the current date and time dynamically inside the email.
- We added the parameter
Click
SAVEand thenRUN.After a while you should receive an email similar to this:
Done.
In order to get auto-completion for available PEL utils in the online editor, simply start typing in the parameter value fields #{@ and then press Ctrl + Space. Then, you should be presented with the list and short description of all available PEL utils. After you have selected a util, type a period . + Ctrl + Space, and you will be presented with all available methods of this util.
References:
Report an Issue
In case you're missing something on this page, you found an error or you have an idea for improvement, please click here to create a new issue. Another way to contribute is, to click Edit this page below and directly add your changes in GitHub. Many thanks for your contribution in order to improve PIPEFORCE!